Friday, December 12, 2014

Dalmatian Party

My daughter's second birthday is coming up. By coming up, I mean in four months. I really don't like last minute planning! She is obsessed with puppies, especially dalmatians. I searched all over the web for dalmatian themed party decorations (that weren't 101 Dalmatians) with no luck. Off to Illustrator!!  (I used free vectors and fonts-fonts are PuppyBellies and LoveNessTwo)

First up were the invitations. I've pinned a lot of okay ideas but finally found one that I loved!
I pretty much just copied this. I added a tag that will print with the invite and plan on covering the ears in dalmatian print fur! And of course, a place for googly eyes.

I added lots of instructions and a finished example in the .ai file, but if you're directly printing off google, I guess you'll have to figure it out.

The best part about these is that you can use different colors of paper to make different breeds!

--------------------------------------------------------------------------------------------------------

Next was the banner. I wanted lots of dalmatian print. After countless hours on Pinterest, I found my inspiration.
It's from an Etsy store that has some GREAT Disney themed printables- https://www.etsy.com/shop/KraftsbyKaleigh

Because the party isn't for four months, I don't have photos of the decorations printed out or in use. :(


I plan on cutting them out around the circle. They are alternating- dalmatian, pink, dalmatian, pink. 
I also made some with a paw print to go at the beginning and end of each word.

I ended up loving these two patterns together so much, I based all the designs around them!

--------------------------------------------------------------------------------------------------------

Making the food labels was the funnest part- there are so many cute food names for a puppy party! 
I found so many great ideas for these, it's hard to say what the biggest inspiration was.


I made tons of food labels so I can choose whatever I want to have closer to time. I also made signs for the tables and a few game signs.

--------------------------------------------------------------------------------------------------------

I made an adoption sign for the doggie bags that will have a stuffed puppy and some dog biscuits (cookies).
And speaking of the dog biscuits-
You fold it and staple it on top of your bags of treats. I made a ziplock and a smaller size.

--------------------------------------------------------------------------------------------------------

Last is for the silverware. I loved the look of this...
...and it shows you how!

Just cut around the pink! I even added dots where the holes go- just in case I have my husband help.


--------------------------------------------------------------------------------------------------------
I just finished up a pin-the-tail game. Pin the spot on the dalmatian.
I traced this picture as big as I needed it and then traced it onto my board using a sharpie.

The sharpie bled through enough so that I could see my lines. Some black paint and viola.

Then  cut spots out of a piece of black poster board. We will use sticky tack so the game is reusable. 
Since the party is for a two-year-old, I opted for a 'everyone wins' game. This way, we can try to keep crying kids to the minimum.

--------------------------------------------------------------------------------------------------------

The door to the party is going to be a dog house that they have to go through! I'm going to make puppy ears on headbands and serve the food in dog bowls.


We had a GREAT party! In all the excitement, I only got a few photos..but here they are.


 And a bonus photo with the BIRTHDAY GIRL!


Thursday, April 4, 2013

Baby Gown

Baby Gown (from t-shirt)

I found a great tutorial and pattern for a baby gown from This Mama Makes Stuff.
It was my first time sewing a knit and it was a little tough, but I made it work. 
I used an old graphic tee from Rue 21 (I think) and another plain shirt for the dark blue.
It turned out so cute!! :)


Wednesday, April 3, 2013

Simon's Stamps

My new stamp from Simon's Stamps. Loving it!!

Baby Boot Tutorial

Baby Boot Tutorial
By Lauren Mackey
(Adapted from MollyChicken)


Materials Needed:
Inner Material
Outer Material
Optional: Decorations


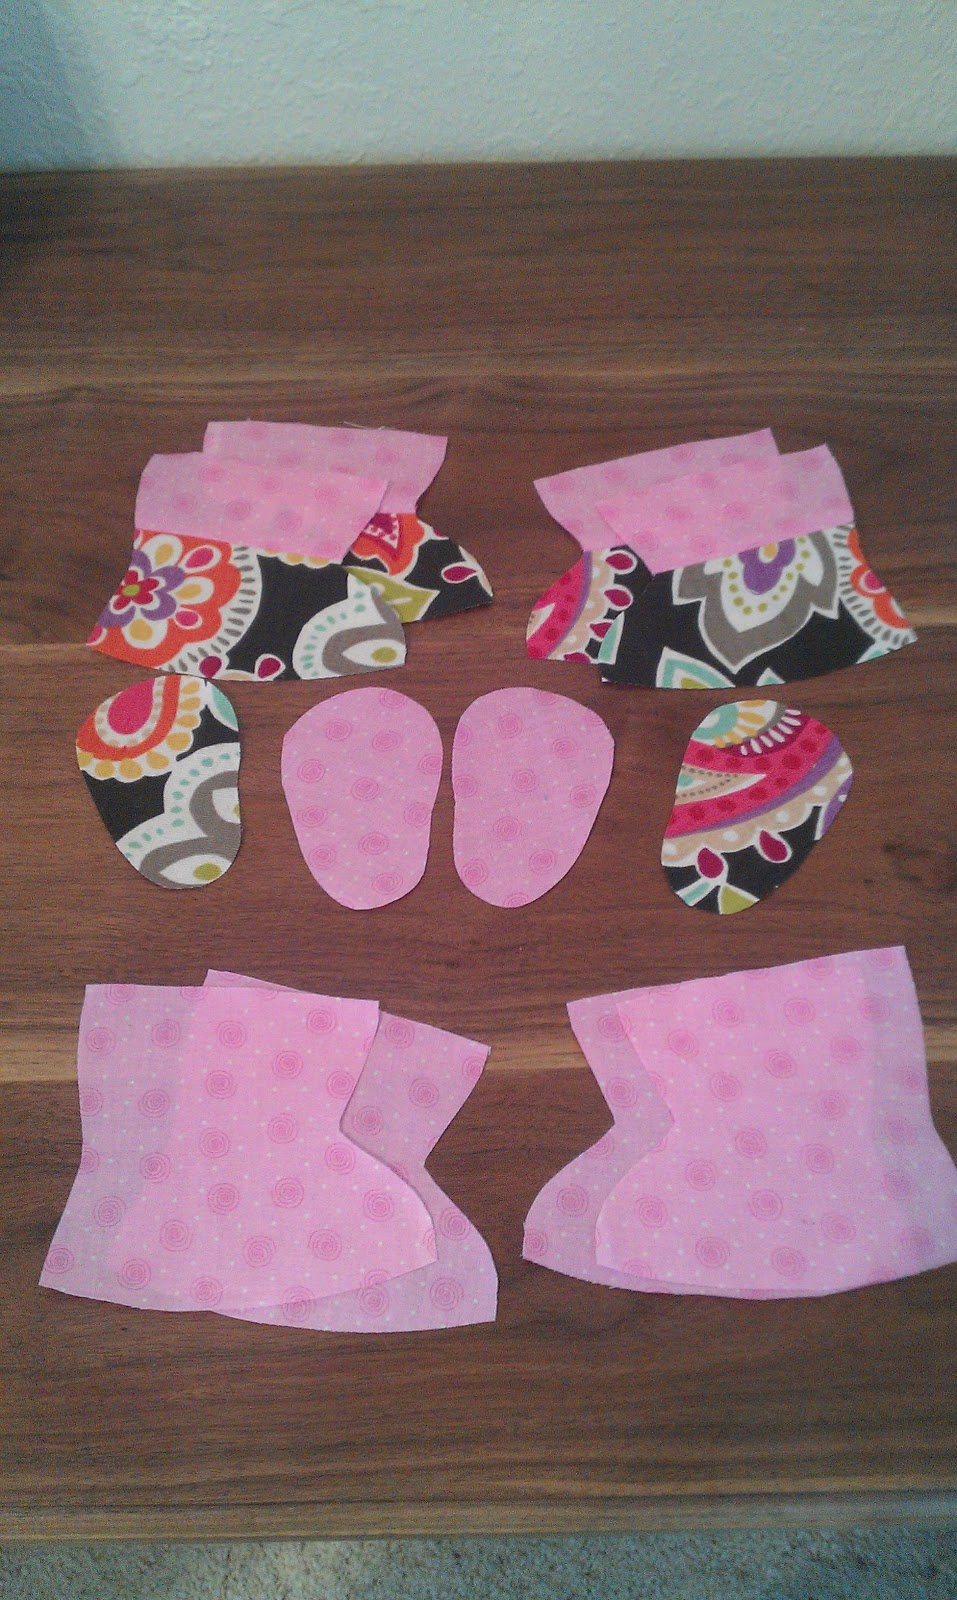
1. Cut out pattern pieces.
   (4 top shoe inner, 2 sole inner,
    4 top shoe outer, 2 sole outer)


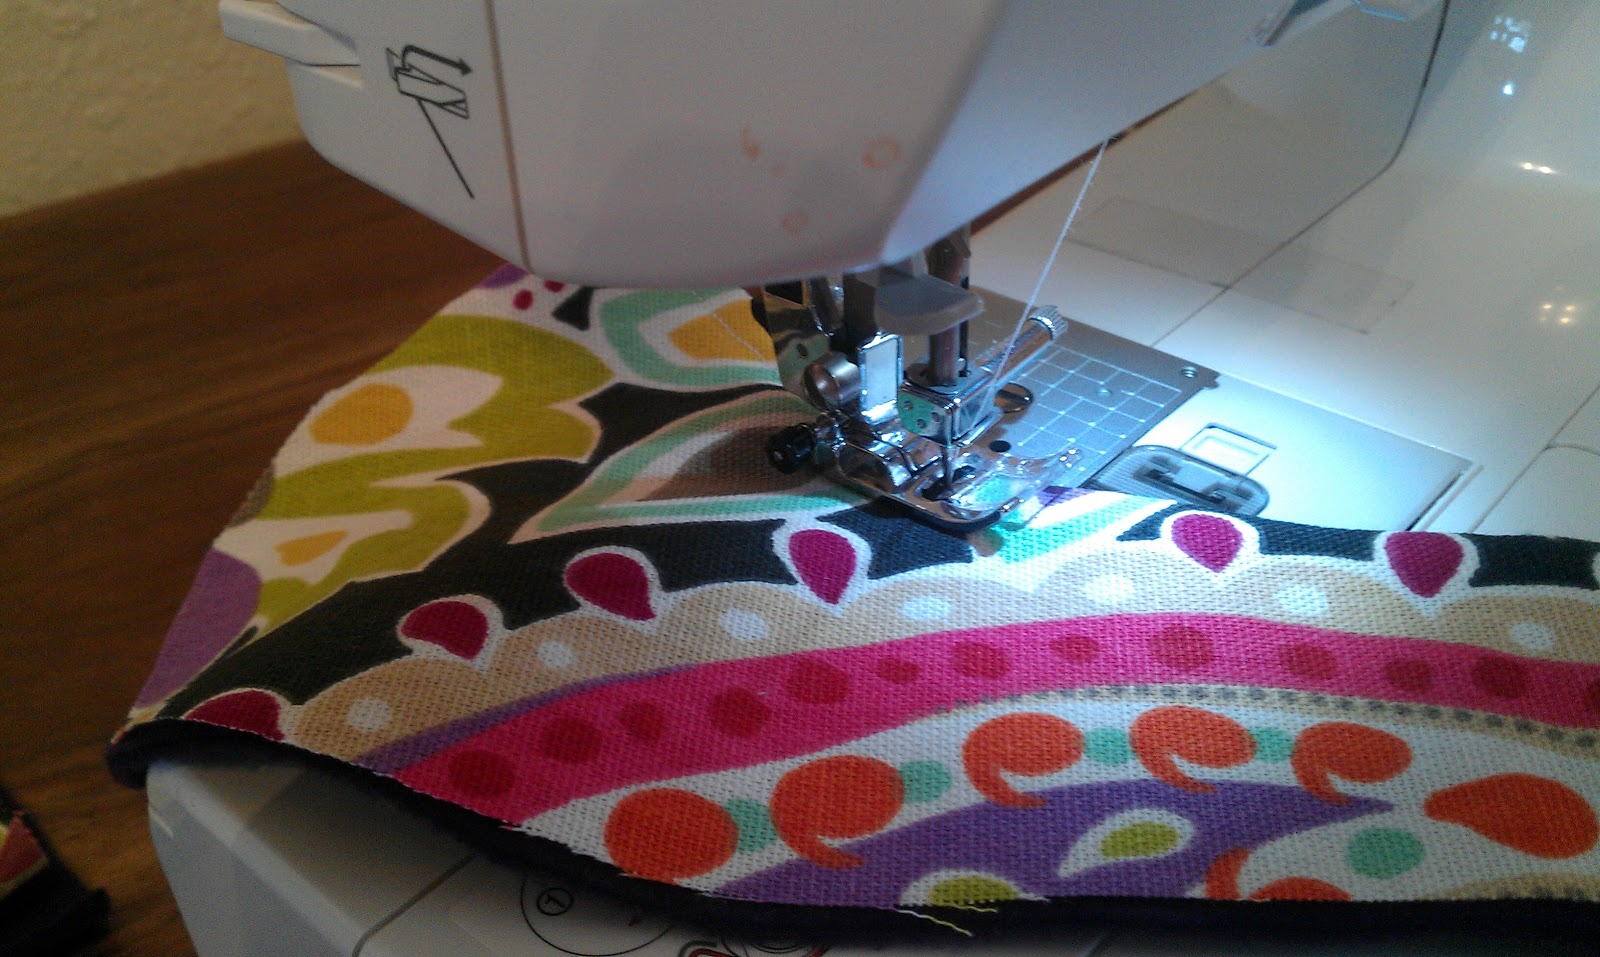
2. Pin and sew (along sides) right sides together. Inner to inner and outer to outer.


3.Pin soles to boot piece matching center marks with seams and sew.


4. Fold and iron the tops of the boots.


5.Turn the outer pieces right side out.


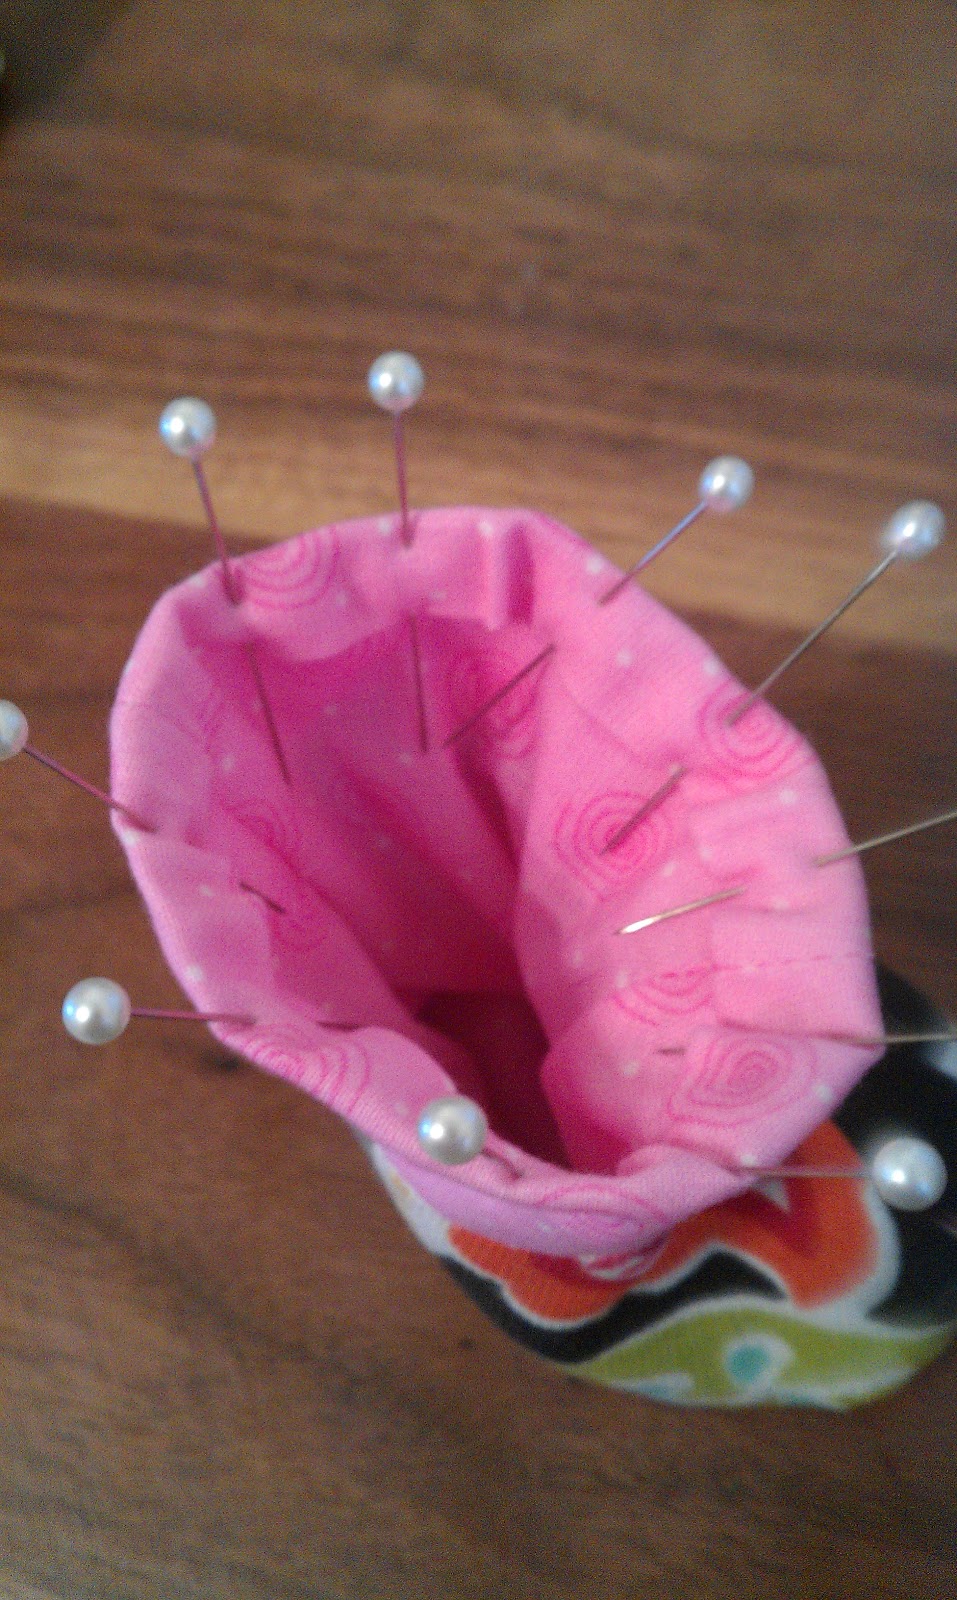
6. Put the inner pieces inside of the outer pieces.
7. Pin and Sew


8. Add decorative stitching, lace, or whatever you want.

Finished!


Monday, April 1, 2013

Kimono Slipper Tutorial

Kimono Slipper Tutorial
By Lauren Mackey


Materials Needed:
Pattern  ( Cut to fit you. I have added a size conversion and measurement chart at the end.)
1/4 Yard Outer Material (I used canvas)
1/4 Yard Inner Material (I used fleece)
Optional: Lace/Ribbon, Puffy Paint, other things to decorate with.


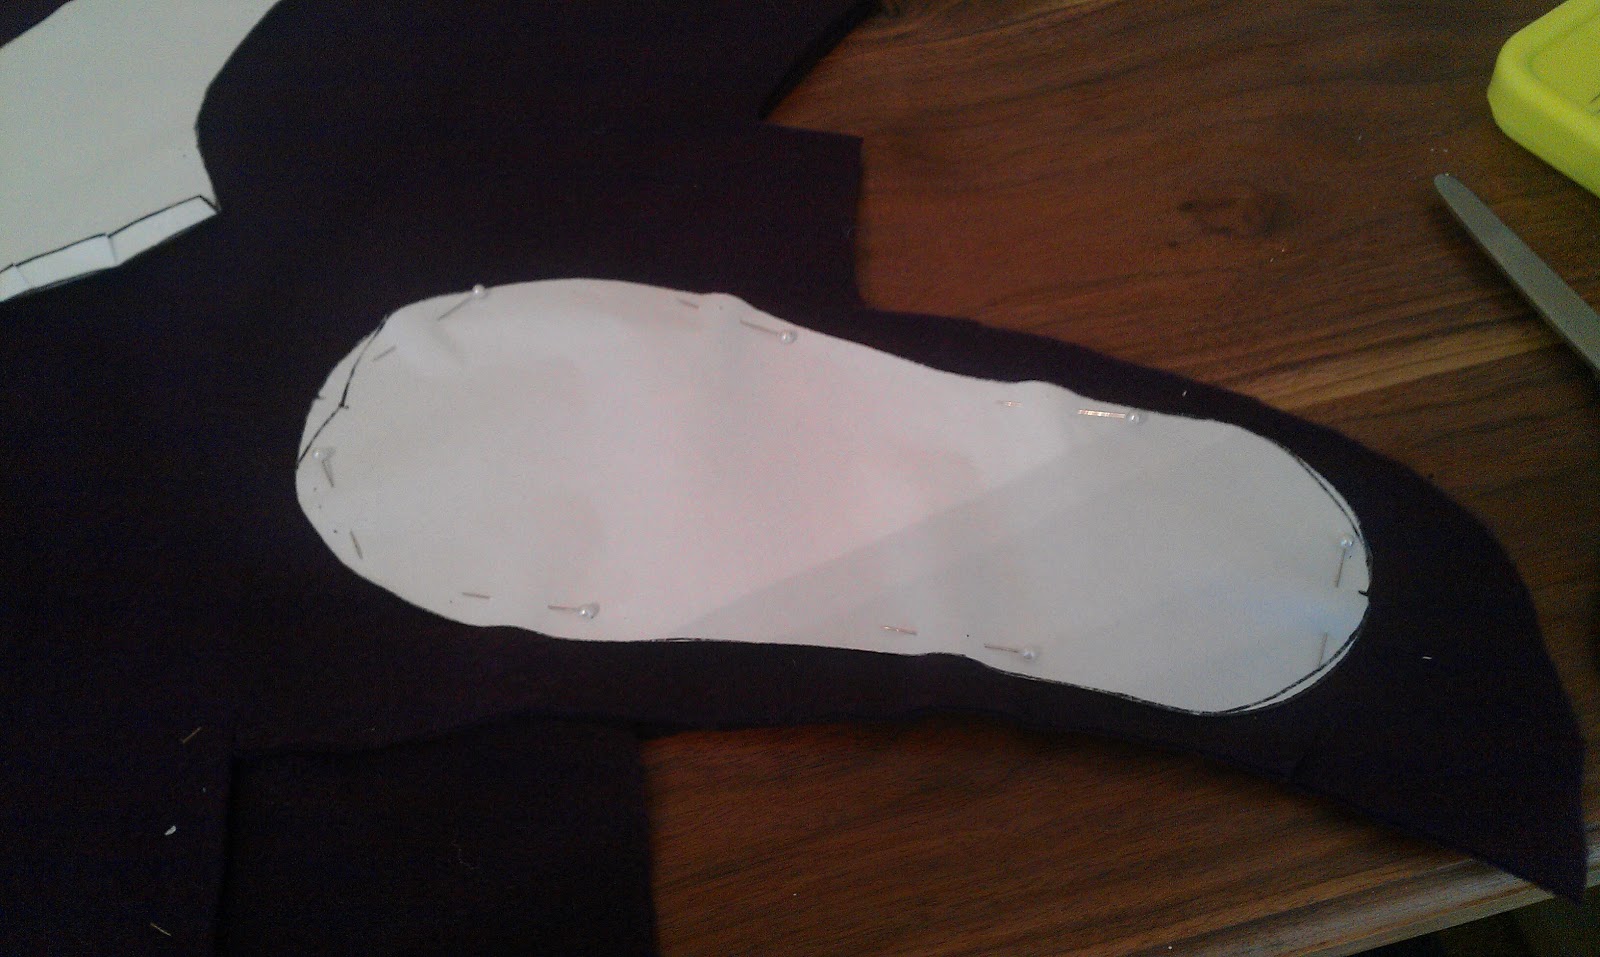
1. Cut out pattern pieces. (A,B,C)


2. Pin shoe top pieces right sides together. (You will have two of the larger and two of the smaller) (B,C)


3. Sew only on the side with the concave curve. (B,C) {SEAM ALLOWANCE: 1/2 in}


4. Clip corners. (B,C)


5. Iron right side out. (B,C)


6. Pin together the straight edges. (One big and one small) (B,C)


7. And sew. (B,C)


8. {OPTIONAL} Sew around stitched edge to create a finished look. (B,C) {SEAM ALLOWANCE: your preference (I think I used 3/8 in)}


9. Pin inner material piece A to Piece B/C right sides together, matching back seam with red triangle. (A,B,C)


10. Sew from blue dot to blue dot. (A,B,C) {SEAM ALLOWANCE: 5/8 in}


11. Pin outer material piece A to Piece B/C right sides together, matching back seam with red triangle. (A,B,C)
12. Sew from blue dot to blue dot. (A,B,C) {SEAM ALLOWANCE: 1/2 in}
(should look like a tulip when you open it up)


13. Turn right side out. (A,B,C)
14. Pin inner and outer piece C to inner piece A. (You may have to work at it to get it lined up properly) (A,C)


15. Sew from as close to blue dot as you can get to edge of piece C. (A,C) {SEAM ALLOWANCE: 5/8 in}


16. Pin inner and outer piece B to outer piece A. (A,B) 


17. And sew. (A,B) {SEAM ALLOWANCE: 1/2 in}

What it should look like.

18. Turn inside out.


19. Sew about two inches on each side. From blue dot to past piece B/C, matching seams. (make sure to sew all parts that are not sewed yet)


20. Finish the seams by using a zig-zag stitch or serger. Trim. 


21. Turn right side out. 
22. To finish, pin and sew together toe pieces lining up seams and zig-zagging or serging. Trim.


Finished Shoe!

You can decorate and cutomize. Some examples:

I added tags to the back and puffy paint to the bottoms to make them non-slip.


Shoes on!